
Put a photograph on a product
One picture, and it follows the sign onto the quote, the job sheet and the customer's PDF.
What this is for
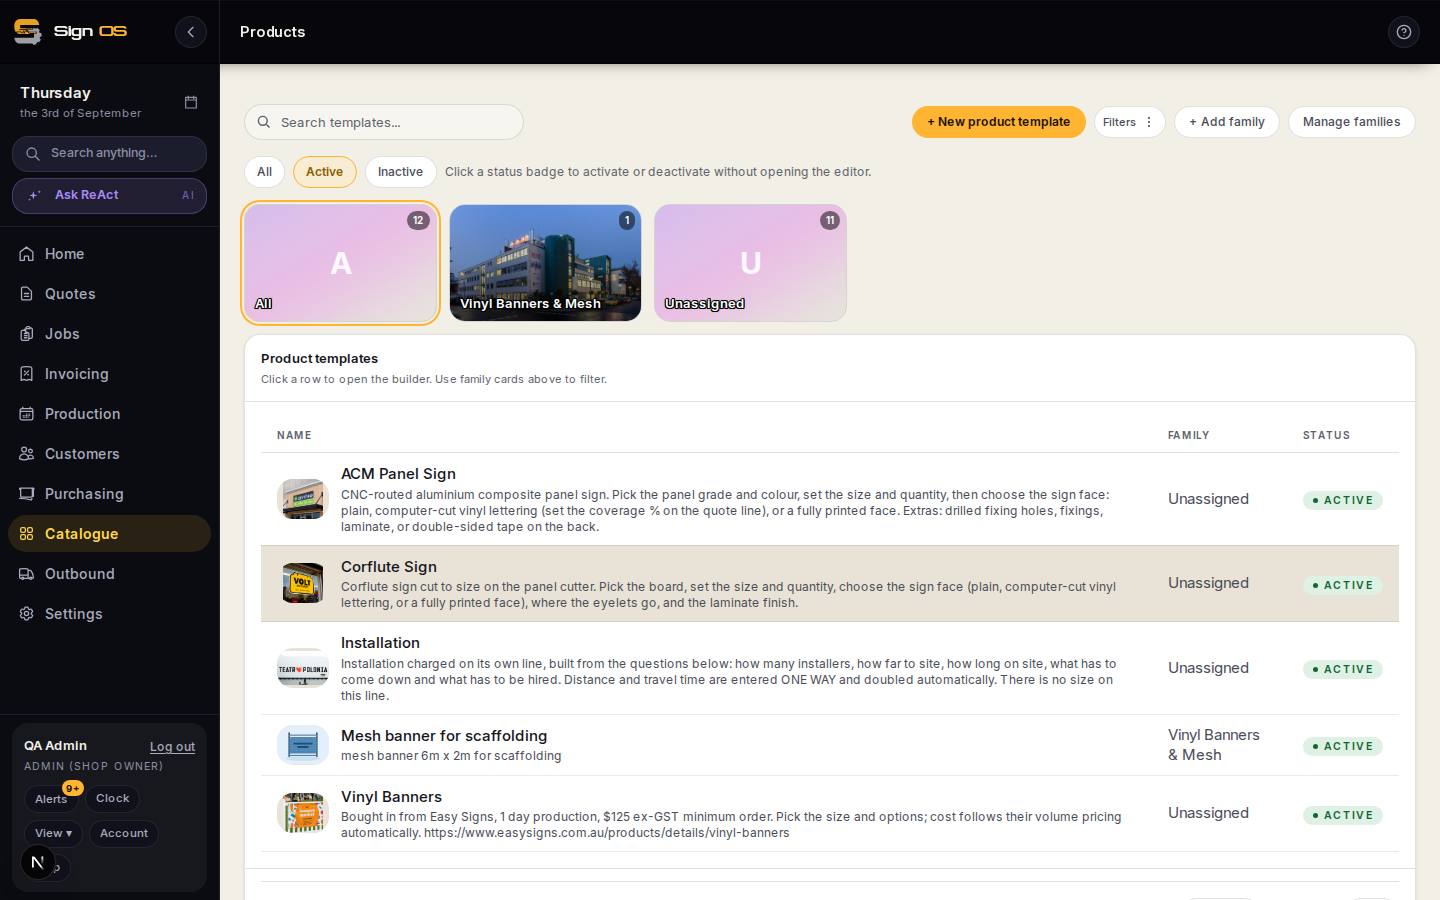
A product can carry a photograph of the finished sign, and options like colour or finish can each carry their own. It is the fastest way to stop a customer approving the wrong thing, and it makes your catalogue read like your own shelves instead of a list of names.
Before you start
- Have the product built, and a photo of the finished sign on your machine.
Step by step
- 1
Open Catalogue → Products and click the product.
- 2
On the Product Info card, find Product image and press Change image.
- 3
Upload the photo. Square-ish works best — it is shown small in lists and larger on the quote.
- 4
For a product with colour or finish options, open the option and give that choice its own picture.
Note: This is the one worth doing properly. When a customer picks 'ACM Standard — Black', the quote shows the black one — not a stand-in in the wrong colour.
- 5
Save. Every new quote line for that product picks the picture up automatically.
Tips & gotchas
- The picture appears on the catalogue list, the quote line, the price rail, the job sheet, the floor card and the customer's PDF. One upload, six places.
- Existing quotes and jobs keep the picture they were built with. Adding a photo now does not rewrite work already priced.
- Photos count towards your shop's file storage, so a 12 MB camera original is worth resizing first.