
Set up email
File customer email against the right job, and set how long it is kept.
What this is for
Once email is set up, a Sign OS panel appears beside your emails. Open a customer's message, pick the job or quote, and the email — plus any artwork attached to it — is saved against that job for the whole shop to see, instead of sitting in one person's inbox.
Before you start
- You are signed in as an admin.
- Connecting a mailbox is not yet self-serve — we switch it on with you. Ask us first, or the Connect buttons will show 'Not ready'.
Step by step
- 1
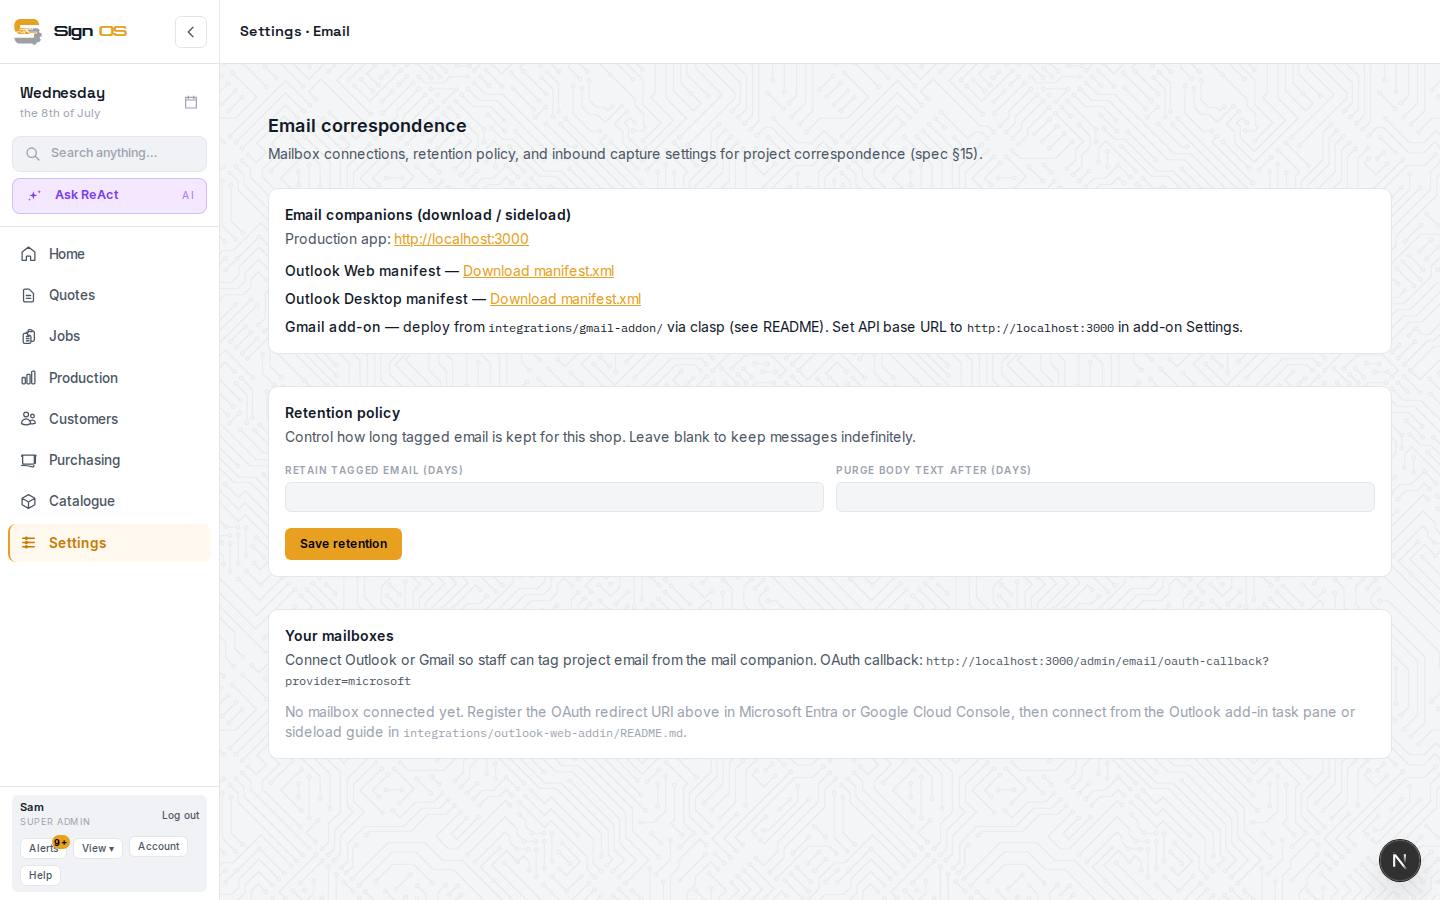
Open Integrations → Email (the page is headed 'Email correspondence').
- 2
Step 1 — Connect your inbox. If your Outlook / Microsoft 365 card shows a Connect button, click it and sign in to Microsoft. If either card shows 'Not ready', use the link on it to ask us and we will set it up with you.
Note: Gmail / Google Workspace always needs a hand from us at the moment — there is no self-serve Gmail connect yet. Outlook is self-serve only once we have switched it on for your account.
- 3
Step 2 — Add the Sign OS panel to Outlook. Copy the setup link on the page and follow the numbered steps. You do this once on each computer you use.
- 4
Step 3 — How long to keep emails. Set how long filed email and message bodies are kept in Sign OS, then save. This only affects the copies in Sign OS; your real mailbox is never touched.
Tips & gotchas
- Leave the retention fields blank to keep filed email indefinitely. If you do set them, the clock starts when Sign OS captured the email, not when it was sent.
- Email that arrives at your Sign OS address is filed against jobs without any of this setup — see the Inbound filing screen under Integrations.